


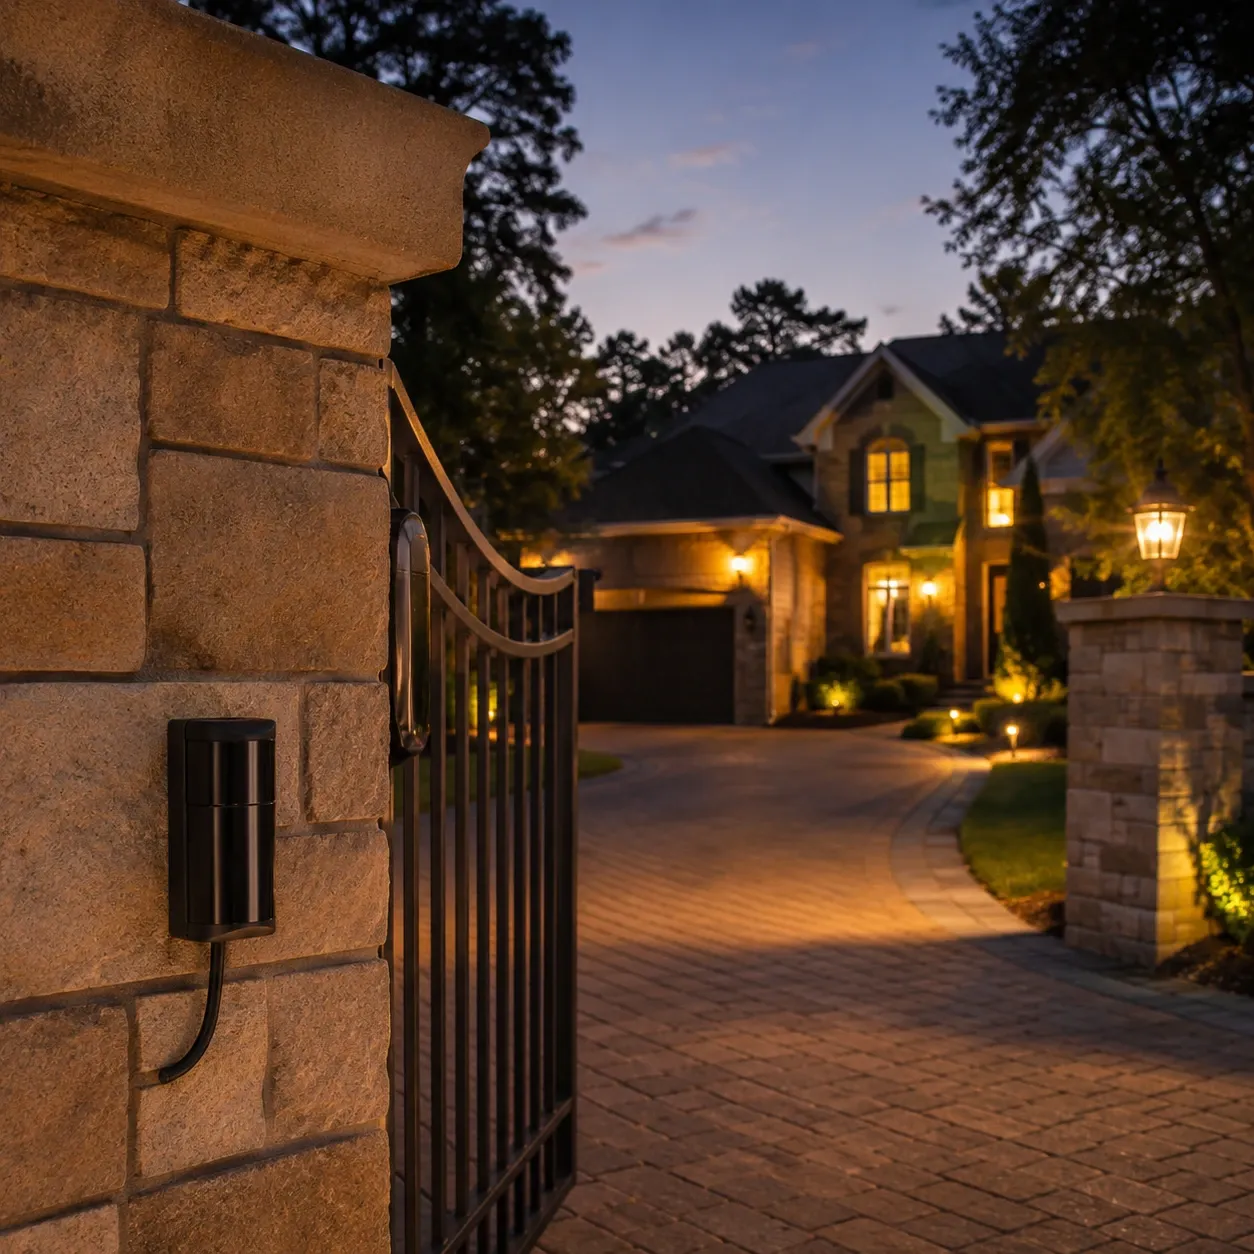
Knowing when a vehicle or person enters a driveway — whether at a private residence, a farm, a commercial property, or a remote facility — provides a meaningful security and convenience advantage. Industrial infrared photoelectric sensors are ideally suited for this application, delivering reliable detection performance far beyond what consumer-grade driveway alert products can provide. This guide explains how to set up a driveway detection system using photoelectric sensors, covering configuration options, installation practices, and integration with alerting devices.
Sensing Configuration Options
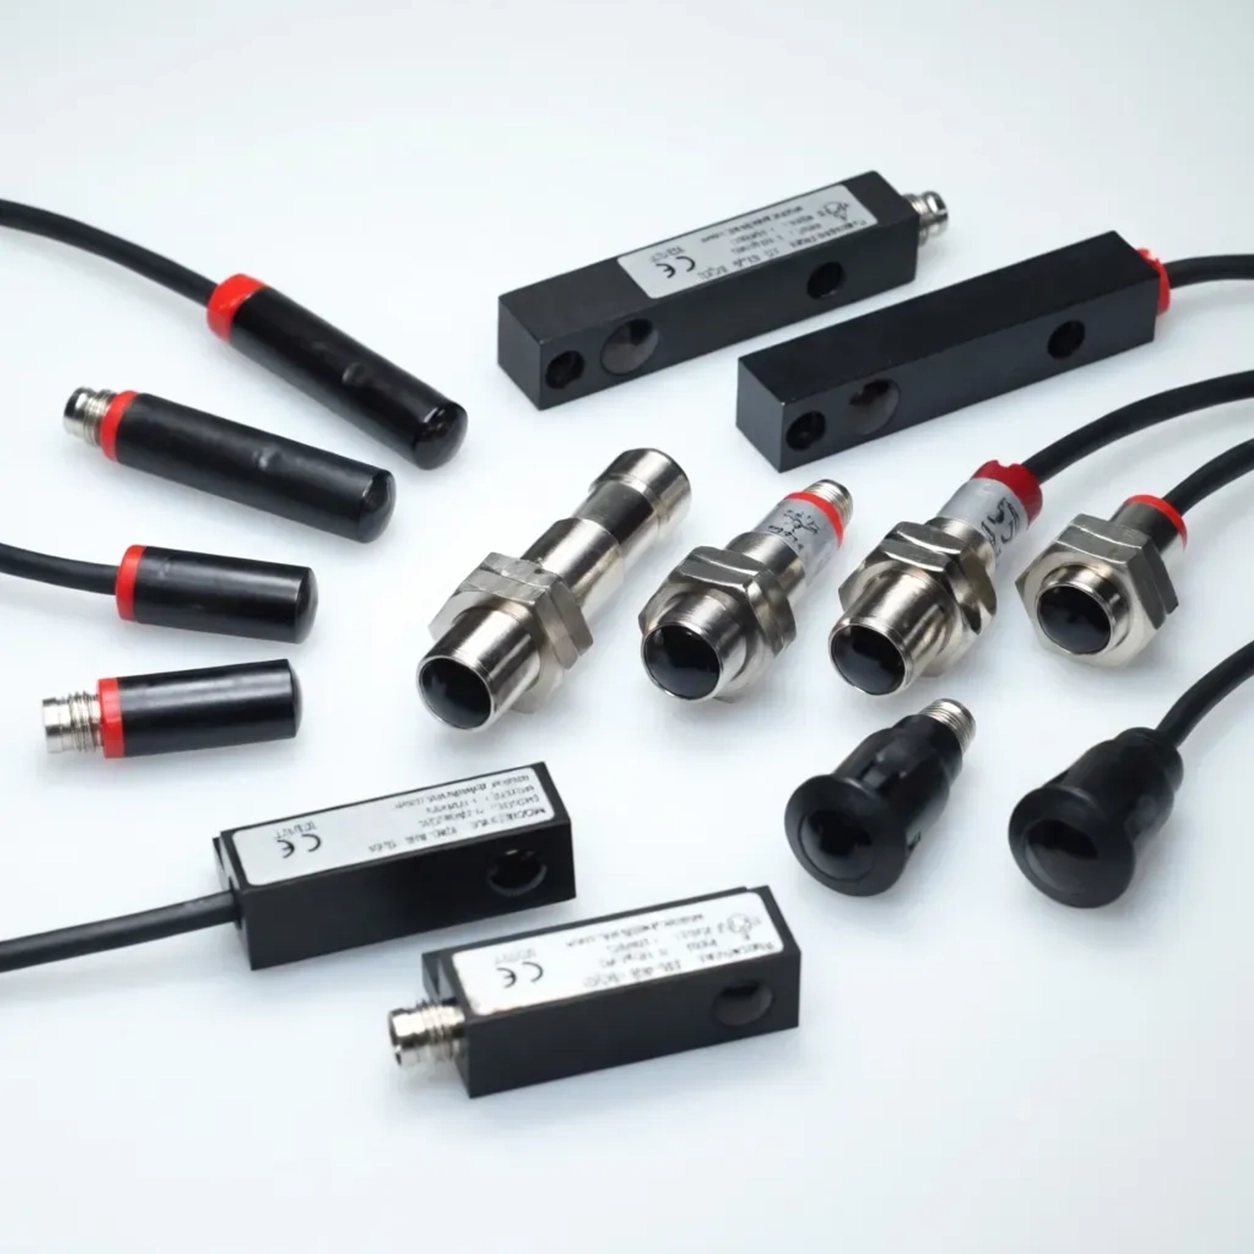
Infrared photoelectric sensors are available in three basic mounting configurations, each suited to different driveway geometries and available mounting structures.
Through-Beam (Opposed Mode)
In a through-beam configuration, the transmitter and receiver are mounted on opposite sides of the driveway, facing each other directly. The transmitter projects an infrared beam across the driveway to the receiver. When a vehicle or person passes between them, the beam is interrupted and the sensor output changes state.
Through-beam is the strongest and most reliable configuration because the full output power of the transmitter is directed straight at the receiver. It provides the longest sensing distances and is the least sensitive to contamination on the sensor faces. For driveway applications with appropriate mounting structures on both sides — fence posts, walls, or trees — through-beam is the preferred choice.
Retro-Reflective
In a retro-reflective configuration, the transmitter and receiver are combined in a single housing on one side of the driveway. A specialized reflector is mounted on the opposite side. The infrared beam travels from the sensor to the reflector and back to the receiver. When an object interrupts the beam path, the sensor triggers.
Retro-reflective is useful when running wiring to both sides of the driveway is impractical. All wiring connects to a single sensor unit on one side, and only the passive reflector needs to be positioned on the other side. The sensing range in retro-reflective mode is shorter than through-beam, but adequate for most residential and light commercial driveway widths.
Diffuse Proximity
In a diffuse proximity configuration, the transmitter and receiver are in the same housing, and the sensor detects objects by receiving a reflection of the infrared beam off the target surface itself — no separate reflector is needed. Detection range is the shortest of the three configurations and depends on the reflectivity of the target surface.
Diffuse proximity is the simplest to install but is more susceptible to detection variations based on vehicle color and surface finish. For driveway applications, it is generally the least preferred of the three options unless the physical layout makes the other configurations impractical.
Evaluating the Installation Location
The first step in designing a driveway detection system is evaluating the available mounting structures and the best detection point along the driveway.
Consider mounting points such as fence posts, brick pillars, stone walls, trees, dedicated conduit posts, or outbuildings. For through-beam systems, the structures on both sides of the driveway must be stable and resist movement from wind, frost heave, or vehicle vibration — any movement that shifts the sensor alignment will degrade performance.
The detection point should be far enough from the road that the system is not triggered by traffic passing on the public road, while being close enough to the protected property that sufficient warning time is provided. A detection point 50 to 100 feet up the driveway from the road is typical for most residential applications.
Wiring the System
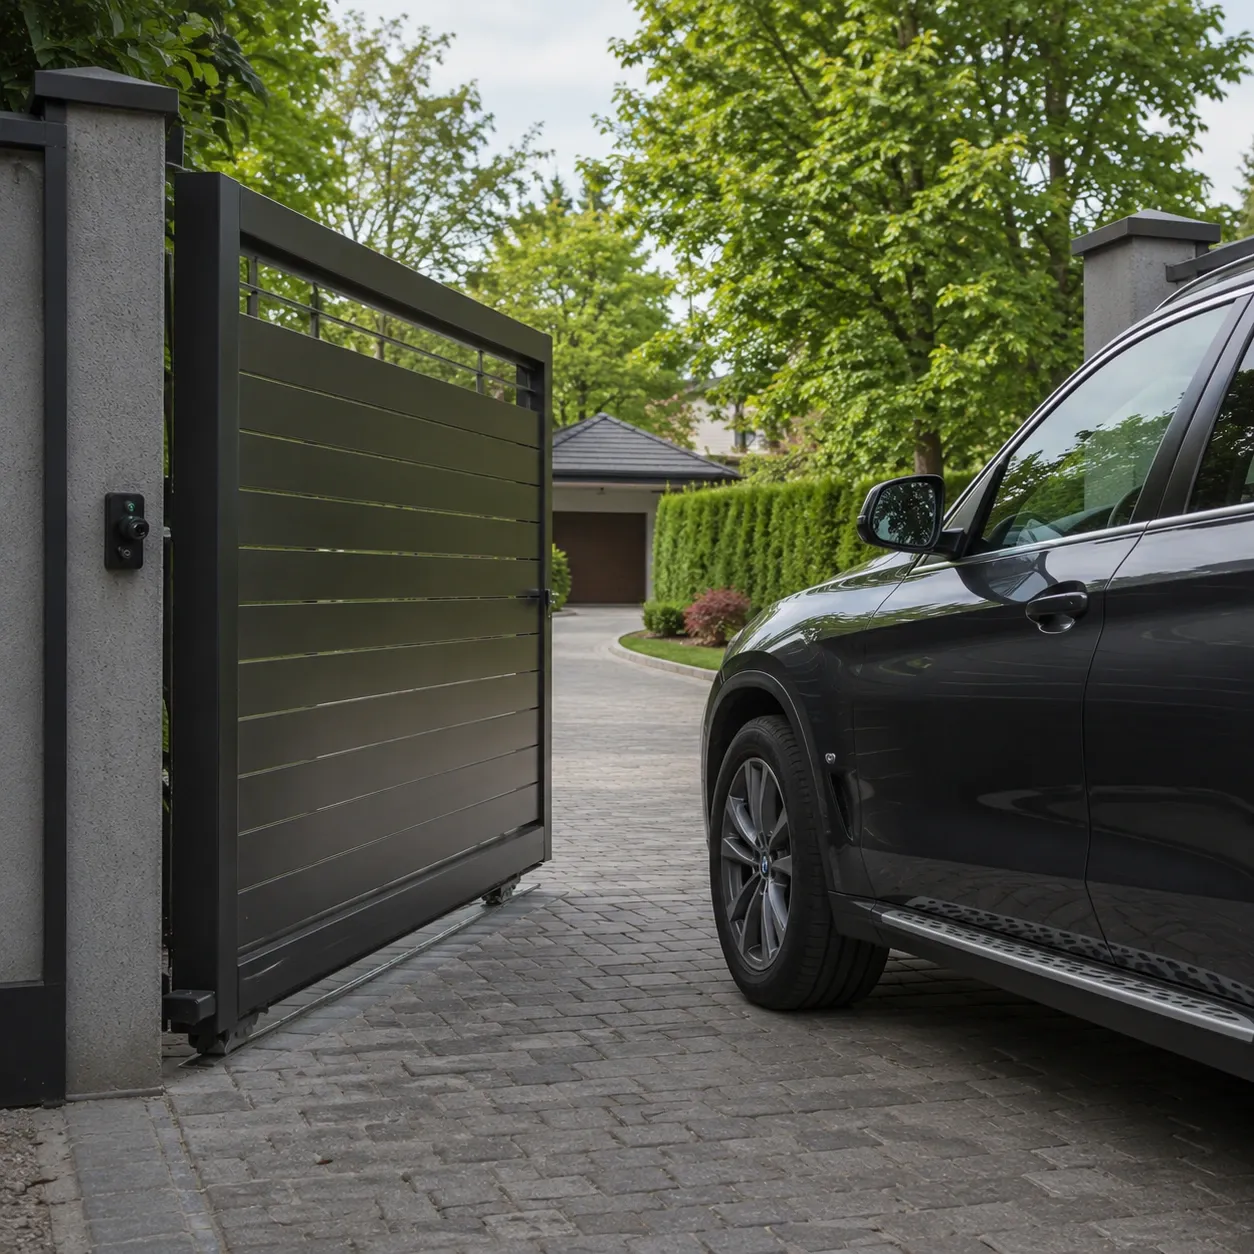
Before burying cable, test the system above ground. Mount the sensors temporarily, extend the cables back to the building without burial, and connect everything. Testing above ground before burying conduit saves considerable rework effort if adjustments are needed.
Trace a routing path from the sensor mounting location back to the building. Plan to run cable in underground conduit — direct burial cable without conduit is vulnerable to rodent damage, lawn equipment strikes, and frost heave. Use Schedule 40 PVC conduit at minimum, buried at a depth that protects it from surface disturbance (typically 12-18 inches for residential applications, deeper for areas subject to vehicle traffic).
At the building end, connect the sensor system to an appropriate power supply (typically 12-24 VDC) and to the alerting device.
Connecting to an Alerting Device
Most industrial photoelectric amplifiers include a relay output — a simple electrical switch that closes or opens when the sensor detects an object. This relay output can drive a wide variety of alerting devices:
- Buzzer or bell — a 12 or 24 VDC buzzer wired directly to the relay provides an audible alert. Choose a tone that is distinctly different from your doorbell or telephone so alerts are easily distinguished.
- Light — a warning lamp inside the building provides a visual indication of driveway activity.
- Smart home integration — relay outputs can interface with smart home systems through relay input modules, allowing driveway detections to trigger notifications on mobile devices, turn on exterior lights, or start security camera recording.
- Access control systems — in commercial applications, the relay output can signal a gate controller to open the gate when a vehicle is detected approaching.
Wire the relay output like a simple switch. When the sensor detects a vehicle, the relay closes, completing the circuit to the connected device. When the vehicle clears the beam, the relay opens and the alert stops. For an alerting device that should latch on for a set period rather than following the vehicle's presence exactly, a timed relay amplifier or an external timer relay can hold the output for a configurable duration after the initial trigger.
Adjusting and Testing
Once the system is wired and powered, adjust the sensitivity of the photoelectric amplifier to optimize performance for the specific installation.
Mount the sensors at a height that will intercept the main body of most vehicles — typically 18 to 30 inches above the ground. This height range catches the body panels of passenger cars, trucks, and SUVs reliably while being less likely to trigger on small animals.
Test the system with several different vehicle types — cars, trucks, vans, and motorcycles if applicable — approaching from both directions at typical driveway entry speeds. Verify that all vehicles trigger the alert reliably. Also test with people walking through the beam to determine whether the system responds to pedestrians at the selected height, and adjust mounting height or sensitivity if the desired detection characteristic differs.
Evaluate the system during different times of day to identify any ambient light interference, particularly at sunrise and sunset when low-angle sun may illuminate the receiver from the side.
Final Installation
Once the system is performing reliably in above-ground testing, proceed with the permanent installation:
- Bury the conduit with cable at the planned depth along the traced routing path.
- Mount the sensor bodies securely in their final positions using corrosion-resistant hardware.
- Seal conduit entry points with weatherproof fittings.
- Apply dielectric grease to any quick-disconnect connectors or splice points at the sensor mounting locations.
- Verify alignment one final time after permanent mounting and re-test with vehicles.
- Conceal visible sensor bodies within the scene elements or mounting structures as much as possible.
A well-installed driveway detection system using industrial photoelectric sensors will provide years of reliable service, alerting property owners to approaching visitors well before they reach the door and providing a foundation for more comprehensive security and access control capabilities.